
How do I create loads?
The Load module in TMS (Transportation Management System) helps you manage and track the movement of goods. This module centralizes all load-related activities, making it easy to create, view, and update loads across different stages of transportation.
Whether you're a shipper, warehouse manager, or fleet manager, the Load module enables you to:
- Create and manage load: Add new loads, assign carriers, track status, and ensure the timely delivery of shipments.
- Monitor load progress: Track the movement of goods in real-time, ensuring that everything is on schedule and addressing any issues as they arise.
- Optimize load efficiency: Leverage planning and routing tools to ensure that the transportation of goods is cost-effective and meets deadlines.
Accessing Load
- From the left navigation, go to Loads.
- This opens the Loads screen.

Creating Loads
You can create a single load for small shipments or create bulk load for larger shipments. The below section helps you understand the load creation process step-by-step for the single load.
There are two types of load creation:
1. Single Load
2. Bulk Load
1. Single Load Creation
Creating a single load involves manually entering the details of one shipment at a time into the TMS. This is a straightforward process where you enter all the necessary information for that specific load, such as:
- Shipper and receiver details
- Product or goods being shipped
- Transport vehicle assignment
- Route and delivery details
- Special handling instructions (if any)
This approach is typically used for smaller, one-off shipments or when there is no need for large-scale data entry. It is often quicker and easier for users managing a few loads at a time or handling customized shipments with unique requirements.
When to Use:
- When you need to create a load for a single shipment.
- For smaller or irregular shipments.
- When specific details are required for individual loads.

Steps to Create a Single Load:
- From the left navigation menu, select Loads.
- On the right side of the Load screen, click
to create a single load for your shipment.
- Enter the details for the service type, route details, truck type, additional details like dispatch date and time.

4. Add the additional detail and click Submit.

5. A confirmation message will appear. Refresh the page to view the new load.

Created loads will appear in the To allocate tab. After the load is created, you will allocate contracts to the transporter.
Allocating Contracts
To allocate the contracts, follow the below steps:
If you know the market rates, then continue with the Indent process.
Or, if you want to get competitive bids from multiple transporters, click the Send for Bidding button. This will:
- Create and launch a spot auction.
- The load will remain in the To Allocate tab while the auction is live. To understand how to send a bid, refer to the Send for Bidding section.
Indenting Load
1. Click Indent to allocate and assign the load to a contract.
- Or, Click on the selected load, you will see three more options will be enabled for you:
- Indent: You can click this Indent as well to allocate more than one load to the contract.
- Cancel Load: You can cancel this load.
- Clear Selection: You can undo the selection.
2. Once you allocate a contract to the transporter, it sends a request to the transporter for accepting or rejecting the contract.

3. Assign a transporter and click Confirm.
4. After you allocate the contract to the transporter, you can track the load’s progress in the Allocated tab to see your allocated load.
Info:
- WM/DM can see list of loads expected to pick materials from their facility in Allocated tab and their current status:
- Requested - Load is assigned to the transporter
- Accepted - Transporter has agreed to place the vehicle
- Assigned - Transporter has provided the vehicle details

2. Bulk Load Upload
A bulk load upload allows users to upload multiple loads at once by importing data from an external source, such as a spreadsheet (CSV). This is an efficient way to manage large volumes of shipments. Bulk uploads allow you to quickly add several loads without manually entering each shipment's information one by one.
To perform a bulk load upload, you'll typically:
- Prepare a file with all the necessary load data (e.g., load number, shipment details, route information).
- Import the file into the TMS, which automatically creates multiple loads based on the provided data.
This feature is particularly useful for organizations handling large numbers of shipments at once or when there are repeated, bulk data uploads from other systems.
When to Use:
- When handling multiple loads at once.
- For large shipments or recurring shipments that can be grouped.
- When integrating data from external sources to automate the load creation process.
To create a bulk upload, follow the below steps:
- From the Load screen, click
to create a bulk load.
- Download the template to understand how to fill in load details.
- Upload a CSV file with all the shipment data.

4. After uploading, your load details will appear in the To Allocate tab.
5. Follow the same steps as for Single Load Creation to allocate and manage the bulk loads.
Uploading Orders
- From the Loads screen, you can upload bulk orders.
- Click
button. You need to upload an order file in which your order details are present. We have provided the template for you to understand how to fill in the order details.
- Orders can also be directly manifested in the TMS through an API integration with your ERP. To proceed for manual upload, Click Download Template.
- Open the downloaded CSV file.
- Fill in the necessary order details, such as Order ID, Destination, Load Type, and Dispatch Date.
- Save the completed file in CSV format.
- Click Upload a file option to upload a file or you can simply drag and drop it.
- Click
to proceed to the next step.

- The file will then be processed, and a pop-up message will be displayed, allowing you to view your file's progress. Click View Details to check the progress of your file.
- Go to Tasks module and refresh the page and your file status will be completed.

You have successfully uploaded the file. Now, you can initiate the plan to load.
9. Once an order is uploaded, you can start the shipment planning process. Refer to the Planning Module documentation.
Managing Invoices
You can manage invoices-upload, add, edit, and delete invoices.
Uploading Invoice
From the Loads screen, you can upload invoices. To do so, follow these steps:
- Click
.
- Click Download Template to understand how you will fill the invoice information.
- Fill in the required information as per the template format.
- Save the file in CSV.
- Upload the file.
- Click Process.

7. The invoice will be uploaded and you can view the uploaded invoice on the details page.
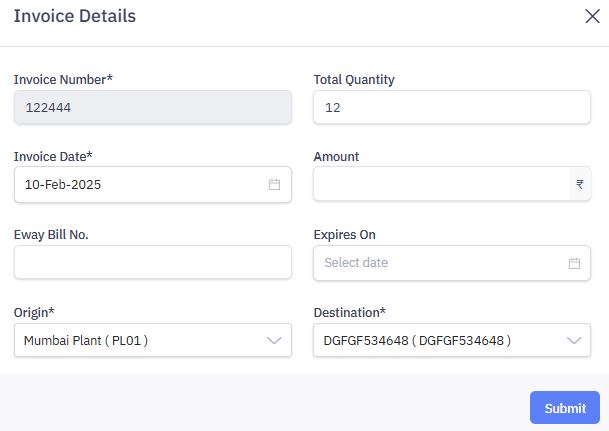
Adding Invoice
To add invoice, follow the below steps:
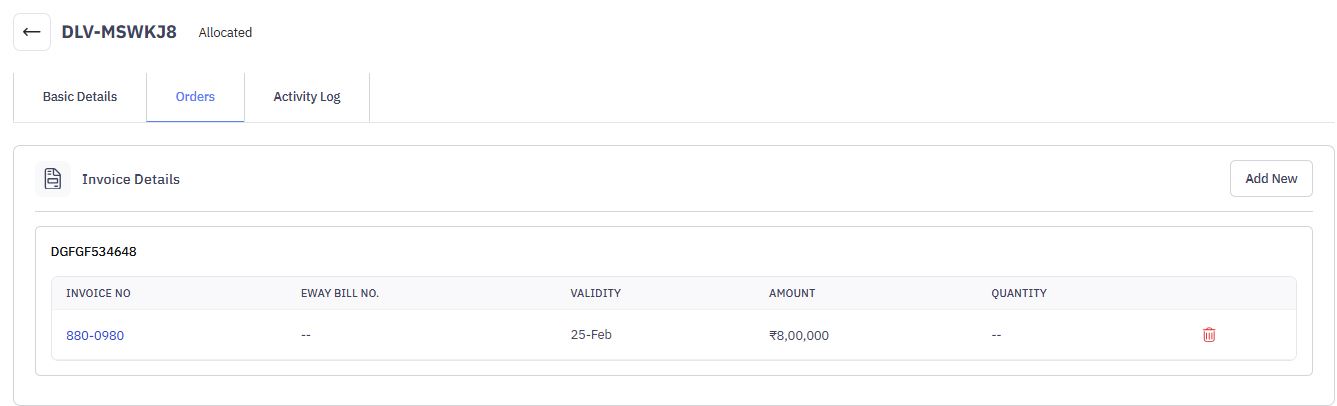
1. Go the load details page from the Allocated tab.
2. Select the Load ID you wish to add the invoice for.

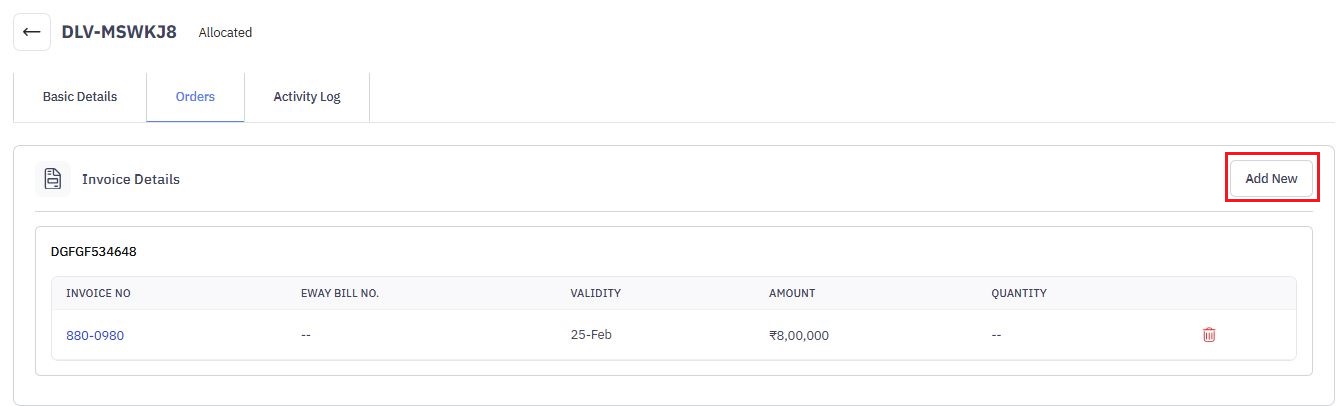
3. On the details page, go to Orders tab, click Add New button.
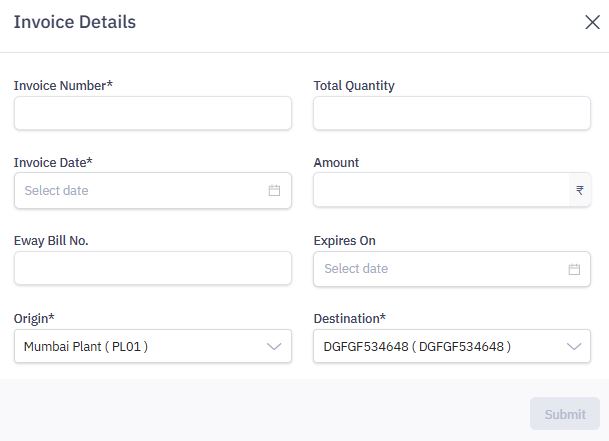
4. Enter the required details and click Submit.
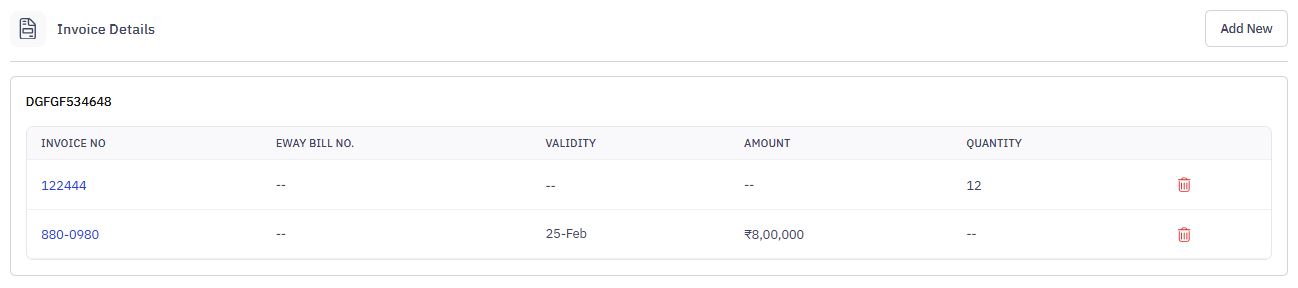
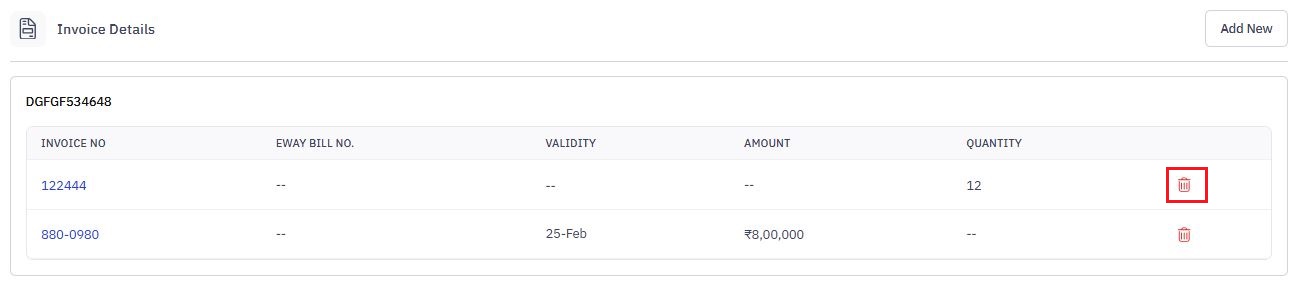
5. The newly added invoice will appear on the details page.
Editing Invoice
1. To edit invoice details, click on the invoice you wish to edit the details for.
2. Edit the details and click Submit.
Deleting Invoice
To delete invoice, click delete icon.
Cancelling Loads
All the cancelled loads will be visible here.
1. From the To allocate tab, click on the selected load that you wish to cancel it.
2. Click Cancel, you selected load will be cancelled.
Note: You can cancel only cancel the load before allocation. you will see three more options that will be enabled
Clear Selection
- From the To Allocate tab, click on the selected load to clear the selection. This will undo your selection