
Manage Products
Introduction
The Product Master module in the Transporter Management System (TMS) acts as a centralized repository for managing product details. It helps logistics companies define product specifications, ensuring accurate order processing, inventory tracking, and transportation planning.
- Standardizes product details across operations
- Ensures consistency in product categorization
- Helps in planning shipments based on weight, volume, and type
- Improves accuracy in billing and documentation
The Product Master is crucial in logistics for:
- Freight Planning: Defining product dimensions and weight helps in optimizing transport loads.
- Inventory Management: Ensuring stock consistency by standardizing product details.
- Billing & Documentation: Accurate product classification avoids discrepancies in invoices and manifests.
- Regulatory Compliance: Certain goods require specific handling, which can be recorded in Product Master.
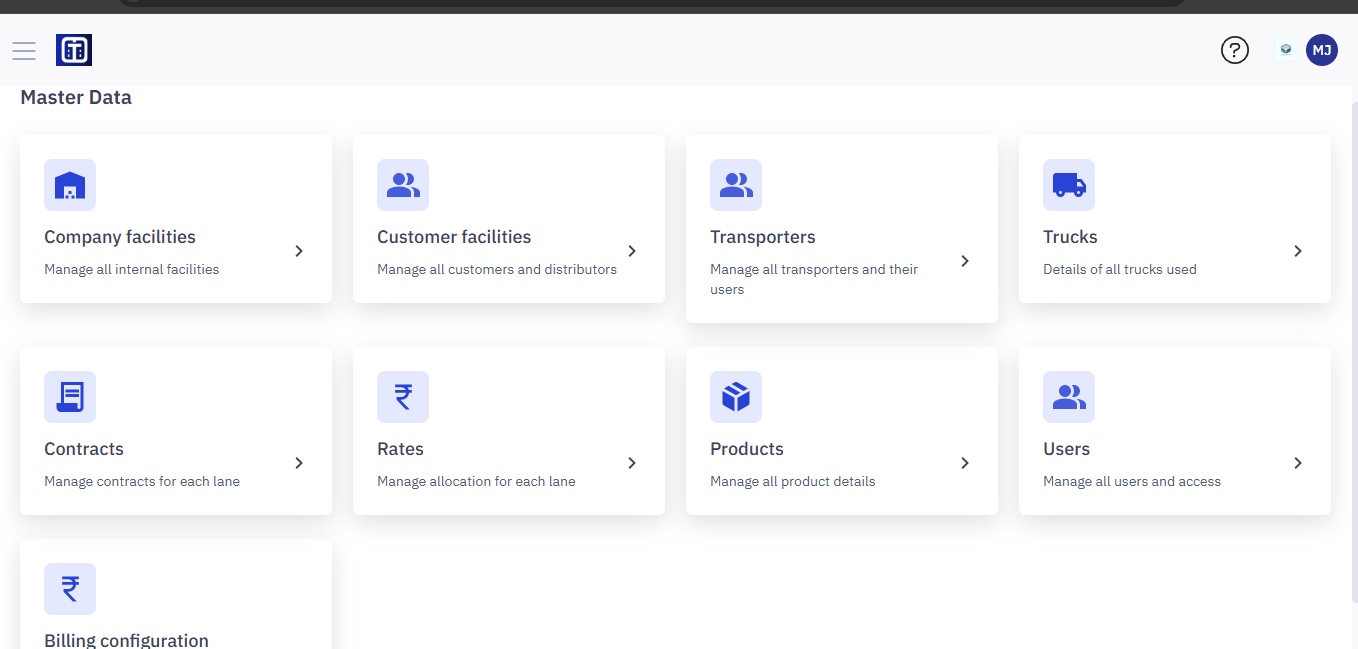
Accessing the Product Master Module
To access the Product Master:
- Navigate to Master Data in the main menu.
- Click on Product Master to view and manage products.
Required Permissions
Only users with Admin or Logistics Manager roles can add, edit, or manage product categories and product details.
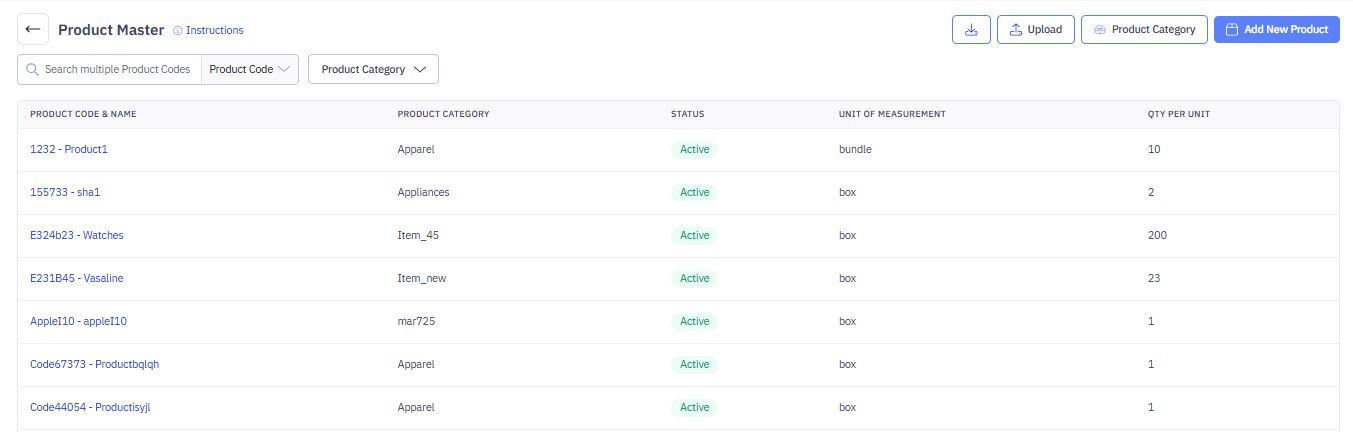
Understanding the Product Master Screen
The Product Master screen consists of the following components:

1. Searching and Filtering Products
The Product Master module provides options to quickly find products using Product Code and Product Category filters.
Steps to Search for Products
Search by Product Code
- In the search bar, enter one or multiple product codes separated by commas (e.g.,
154262, 14491). - The system will display only the matching products.
Filter by Product Category
- Click the Product Category dropdown.
- Select the required category to filter products belonging to that category.
Reset Filters
- Click Reset all filters to clear the applied search and filters, restoring the full product list.
2. Product List Table
The table displays the following columns:
- Product Code & Name – A unique identifier and product name.
- Product Category – The category under which the product is classified.
- Status – Indicates if the product is Active or Inactive.
- Unit of Measurement – Defines how the product is measured (e.g., box, bundle).
- Quantity per Unit – Specifies the number of items per unit.
3. Actions Available
Users can perform the following actions from the Product Master screen:
- Download Product Master bulk data and receive in your email.
- Upload products in bulk using the Upload button.
- Manage Product Categories using the Product Category button.
- Add a New Product using the Add New Product button.
Uploading Products in Bulk
The Upload feature allows users to add multiple products at once by uploading a CSV, XLS, or XLSX file.
Steps to Upload a Product File
1. Open the Upload Dialog
- On the Product Master screen, click the Upload button.
- The Upload window will appear.
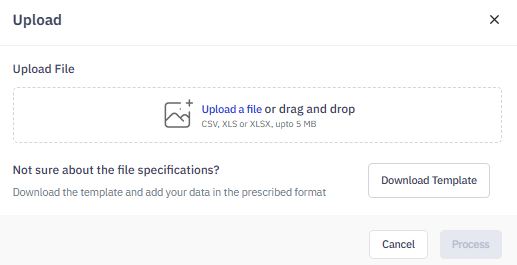
2. Prepare the Product File
- Click on Download Template to get the pre-defined file format.
- Open the downloaded file and enter product details as per the required structure.
- Save the file in CSV format (maximum file size: 5 MB).
3. Upload the File
- Click Upload a file or drag and drop your prepared file into the upload box.
- Ensure the file is in the correct format before proceeding.
4. Process the File
- Once the file is uploaded successfully, the Process button will be enabled.
- Click Process to start the bulk upload.
5. Completion
- The system will validate and import the products.
- Go to Task module and look for your product ID, you can view and download the file to correct the file and re-upload.
- Once successfully uploaded, the products will appear in the Product Master List.
Managing Product Categories
The Product Categories section allows users to manage product classifications efficiently. Users can add new categories to ensure accurate product organization.
Adding a New Product Category
- Click the Product Category button at the top of the Product Master screen.
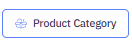
- A popup window titled Product Categories will appear.
Add a New Category
- Click Add New Category at the top of the popup.
- A new editable field will be added to the list.
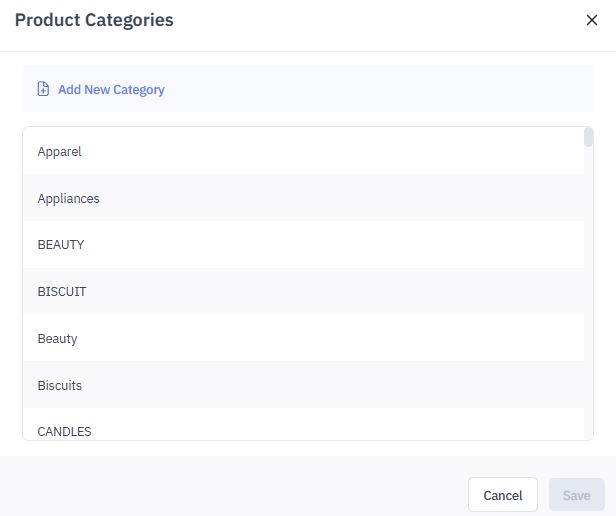
Enter the Category Name
- Type the desired category name in the new field.
- Ensure consistency in naming conventions to avoid duplicates (e.g., "Beauty" vs. "BEAUTY").
Save the Category
- Click Save to confirm the new category.
- The category will now be available in the Product Category filter dropdown.
- A confirmation message will appear: "Product category is successfully added".

Cancel Changes (Optional)
- If you don’t want to save the changes, click Cancel to exit without adding the category.
Managing Existing Categories
- From the Product Name and Code column, click on any of product entries you want to edit it.
2. Click Edit.
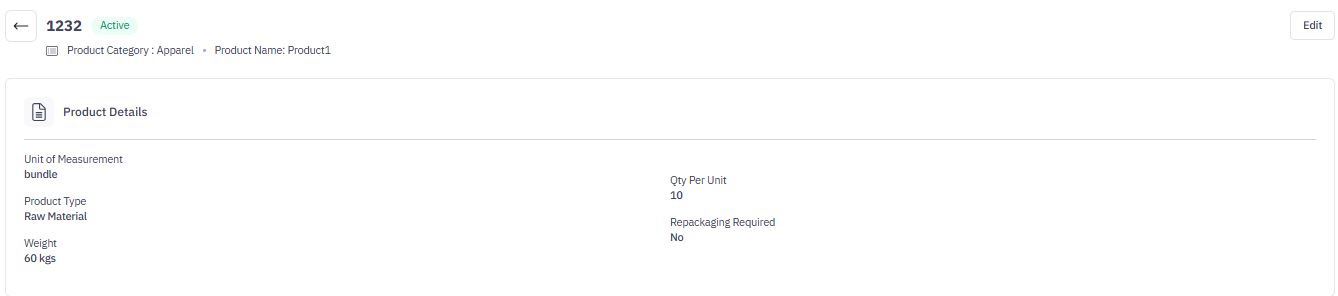
3. Modify details.
4. Click Submit.
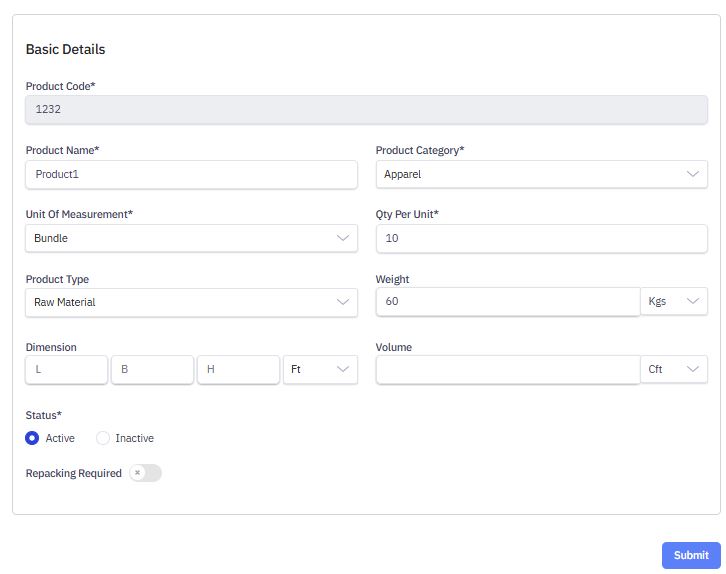
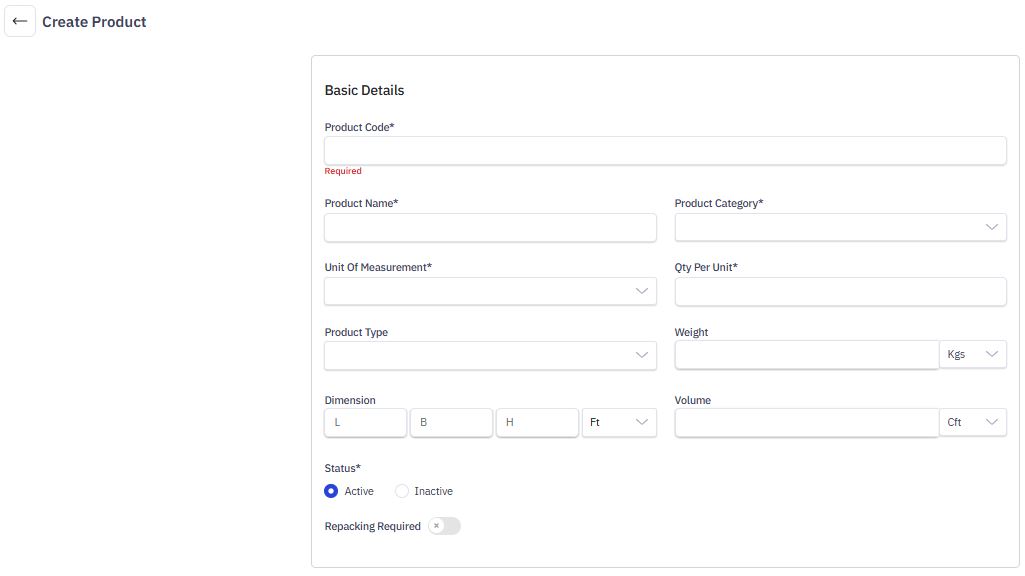
Creating a New Product
The Create Product form allows users to add new products with key details, ensuring accurate classification and tracking in the system.
Steps to Create a Product
- Navigate to Product Master > Add Product.
- Enter Basic Product Details
- Product Code: Enter a unique identifier (e.g., 1232). (Required)
- Product Name: Provide a name for the product (e.g., Product1). (Required)
- Product Category: Select from the dropdown (e.g., Apparel). (Required)
3. Specify Measurement Details
- Unit of Measurement: Choose a unit from the dropdown (e.g., Bundle). (Required)
- Quantity Per Unit: Define the number of items per unit (e.g., 10). (Required
- Product Type: Select the classification (e.g., Raw Material, Finished Goods). (Optional)
4. Define Product Dimensions
- Weight: Enter the weight and select the unit (e.g., 60 Kgs).
- Volume: Specify volume in cubic feet (Cft). (Optional)
- Dimension: Provide Length (L), Breadth (B), Height (H) and select the unit (e.g., Ft). (Optional)
5. Set Product Status and Additional Options
- Status: Active/Inactive
- Repacking Required: Toggle ON/OFF based on whether the product needs repacking.
3. Click Submit to save the product.
A success message will confirm the addition.