
Manage and Add Trucks
Manage Trucks
The Trucks master data allows you to add and manage your fleet of vehicles. It lets you manage information about the vehicles used for transportation. This includes details like truck numbers, types, and validity of important documents.
Accessing the Trucks
- Navigate to the Master Data module.
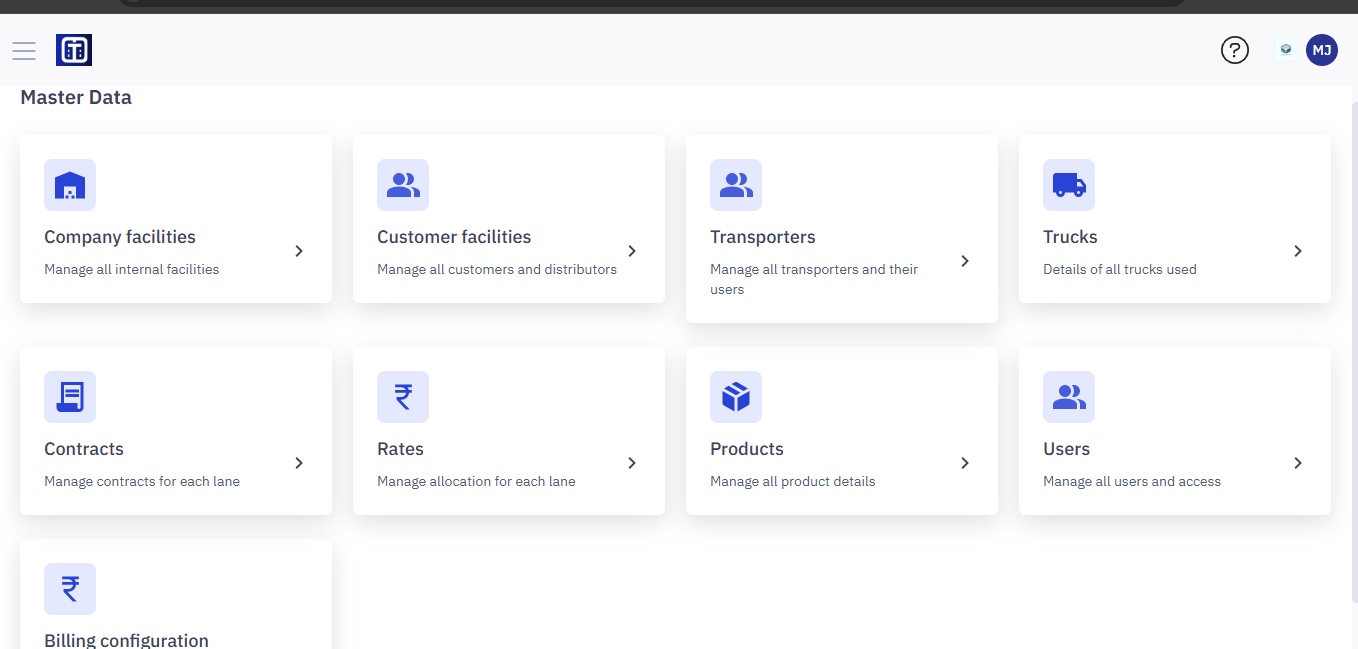
- From the Master Data dashboard, click Trucks.
Note: Ensure you read the instructions before adding trucks master data, refer to the section Master Data : Key Details for All Submodules for important information about adding entries and ERP integration.
View the Trucks List
The Trucks page displays a list of existing trucks in a table. The table shows the following information (some columns may be empty depending on the data entered):
- TRUCK NUMBER: The license plate or registration number of the truck.
- TRUCK TYPE: The type of truck (e.g., Closed 19FT SXL, Open Truck, Trailer).
- BLOCKED STATUS: Indicates if the truck is blocked for any reason (Yes/No).
- VERIFICATION STATUS: The verification status of the truck's documents (e.g., Valid, Pending, Invalid).
- TRANSPORTER: The name or ID of the transporter that owns or operates the truck.
- OWNERSHIP TYPE: The type of ownership (e.g., Market, Owned).
- MANUFACTURING YEAR: The year the truck was manufactured.
- PUC VALIDITY: The validity date of the Pollution Under Control (PUC) certificate.
- FITNESS VALIDITY: The validity date of the truck's fitness certificate.
- INSURANCE VALIDITY: The validity date of the truck's insurance.
- PERMIT VALIDITY: The validity date of the truck's permit (if applicable).
- ACTION: Allows you to edit details of a specific truck.
Using the Trucks List
- Tabs for Filtering by Verification Status: Use the tabs (All, Pending, Valid, Invalid) to filter the list based on the verification status of the truck's documents. This helps you quickly identify trucks with pending or invalid documents.
Searching for a Truck
- Search for a specific truck:
To search for a specific truck, follow the below steps:
- In the "Enter Truck Number" box, enter part or all of the truck number.
- The list updates automatically to show matching results.

- Filtering by Truck Type:
- Click the Truck Type dropdown.
- Select a truck type.
- The list filters to show only that type of truck.

- Filtering by Transporter:
- Click the Transporter Name/ID dropdown.

- Select a transporter.
- The list filters to show only trucks associated with that transporter.

Adding a New Truck
Adding a new truck involves providing details such as truck number, type, and relevant documentation.
To add a new truck to the TMS:
- Click the "+ New Truck" button. This will open the "Truck Details" form.
- Enter the truck details that you want to add.
- Click the "Truck Type" dropdown menu.
- Select the appropriate truck type from the list (e.g., "32FT Closed Container SXL").
- Choose the ownership type by selecting either the "Market" or "Owned" radio button. This is a required field
- Click the "Transporter Name" dropdown menu.
3. Once you have filled in all the required information, click the Submit Details button. This will save the new truck information to the TMS.

Viewing and Editing Truck Details
- Click the edit icon (pencil icon) in the "ACTION" column for a specific truck to view or edit its details.
- Modify the details if you wish to.

Note: Edit page allows you to provide more details like: Enabling or disabling or assigned vehicle, Manufacturing date, PUC Validity, Fitness Validity, and other fields shown in the image below.

- You can update any of the information associated with the truck. Click Save Changes to save your changes.