Manage Users
Introduction
The User Master module in TMS allows administrators to manage users by creating, modifying, and assigning roles. Users are categorized into user groups, each with specific access rights based on their role in the logistics workflow.
Accessing the User Master Module
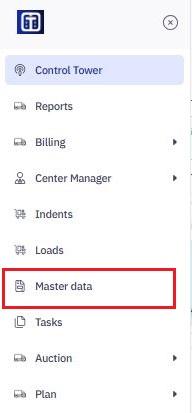
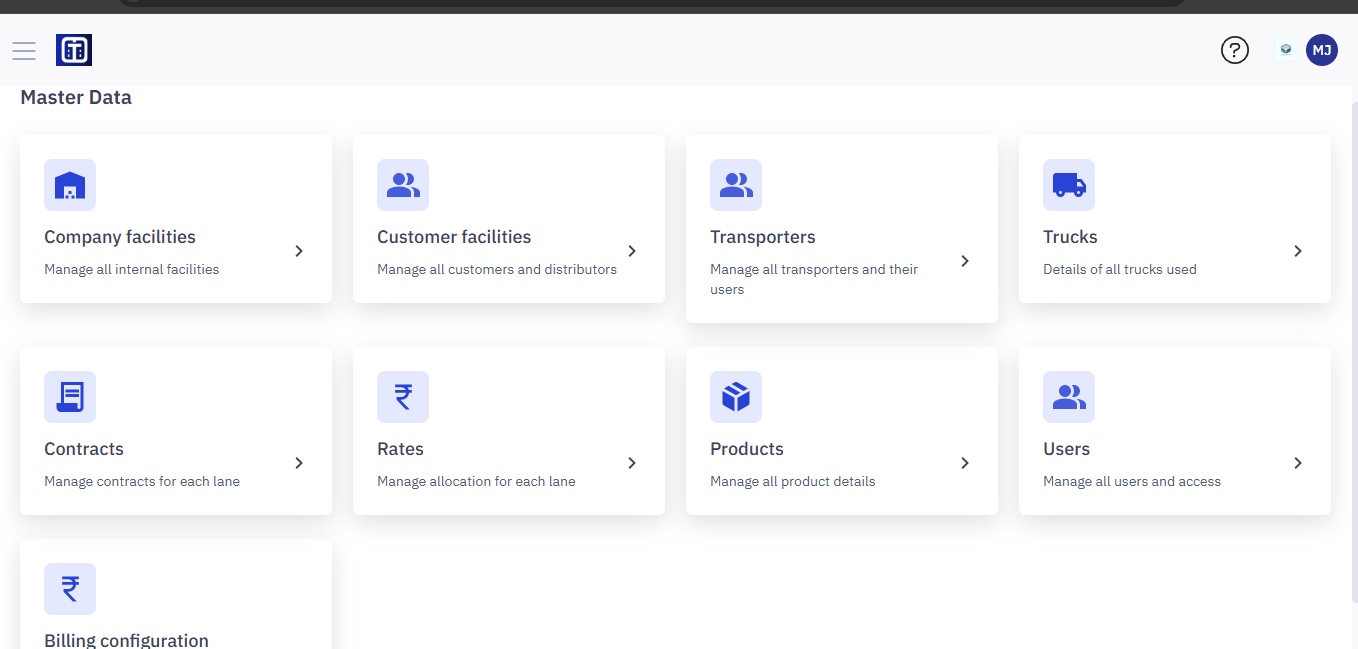
- Navigate to Master Data.
- Select Users.
Note: Ensure you read the instructions before creating users master data, refer to the section Master Data : Key Details for All Submodules for important information about adding entries and ERP integration.
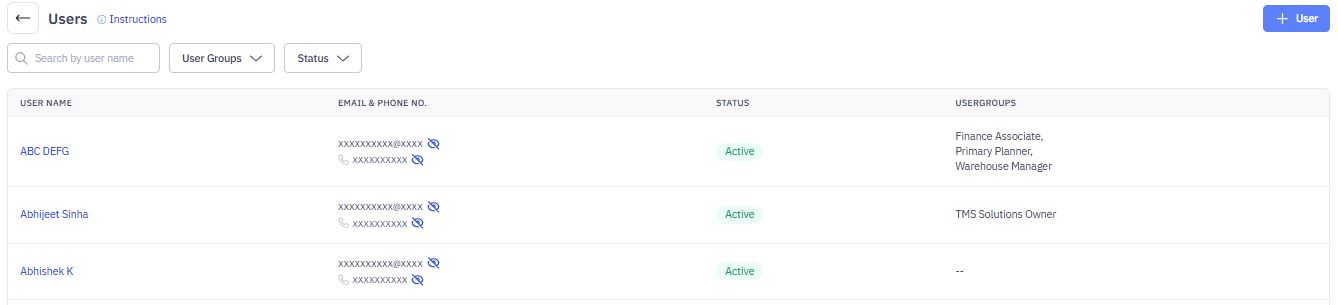
3. The Users screen displays a list of existing users, along with their:
- User Name
- Email & Phone Number
- Status (Active/Inactive)
- User Groups (Roles assigned to the user)
Required Permissions
Only users with Admin or Logistics Manager roles can add, edit, or manage product categories and product details.
Searching and Filtering Users
The Users module provides search and filter options to help you quickly find specific users.
1. Searching Users by Name
- Use the Search by user name field to enter a user's name.
- The system will dynamically filter and display matching results.

2. Filtering by User Groups
- Click the User Groups dropdown.
- Select a specific group (e.g., Warehouse Manager, Finance Associate) to filter users by assigned roles.
3. Filtering by Status
- Click the Status dropdown.
- Choose between:
- Active: Displays users currently active in the system.
- Inactive: Shows users who have been deactivated.
Creating a User
To add a new user in TMS, follow these steps:
1. Navigate to the Create User Page
- On the Users screen, click the + User button.
- The Create User form appears.
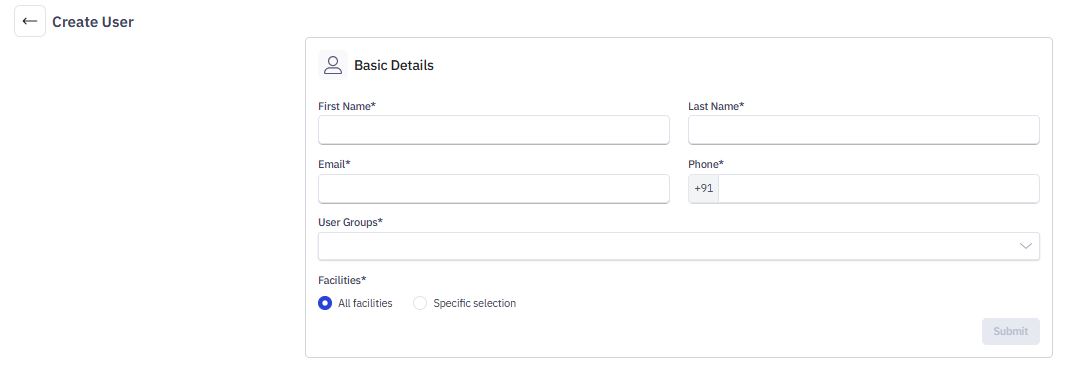
2. Enter Basic Details
Fill in the mandatory fields:
- First Name*: Enter the user's first name.
- Last Name*: Enter the user's last name.
- Email*: Provide a valid email address for login and notifications.
- Phone*: Enter the user's phone number, starting with the country code (+91 for India).
- User Groups*: Select the appropriate role(s) for the user from the dropdown.
3. Assign Facilities
Choose the facilities the user can access:
- All Facilities: Grants access to all facilities in the system.
- Specific Selection: Allows assigning the user to specific facilities.
4. Submit the Form
- Click Submit to create the user.
- The new user will now appear in the Users List.
Editing and Deactivating a User
1. Editing User Details
To modify an existing user’s details:
- Navigate to the Users module.
- Select the user you want to edit.
- Click the Edit button in the top-right corner.
- Update the required details (e.g., name, email, phone number, user groups, or facility access).
- Click Save to apply changes.
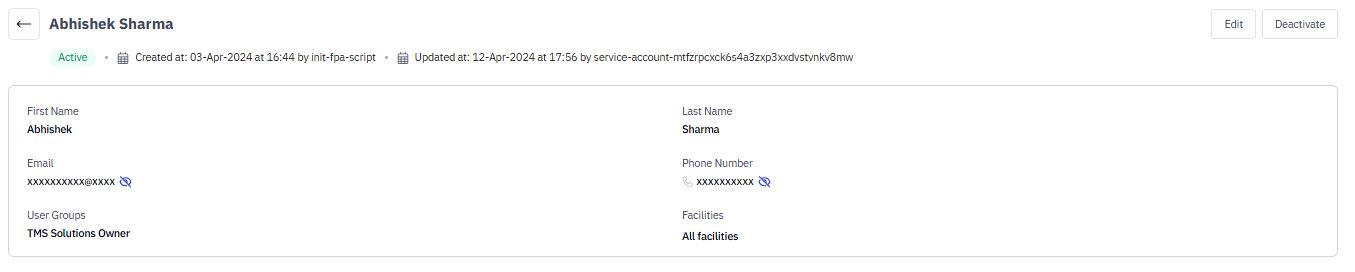
Note: User modifications are logged with timestamps.
2. Deactivating a User
To deactivate a user:
- Open the user profile.
- Click Deactivate in the top-right corner.
- Confirm the action in the pop-up window.
- The user status changes from Active to Inactive.
Note: A deactivated user will lose system access but remains in the database for reference.