
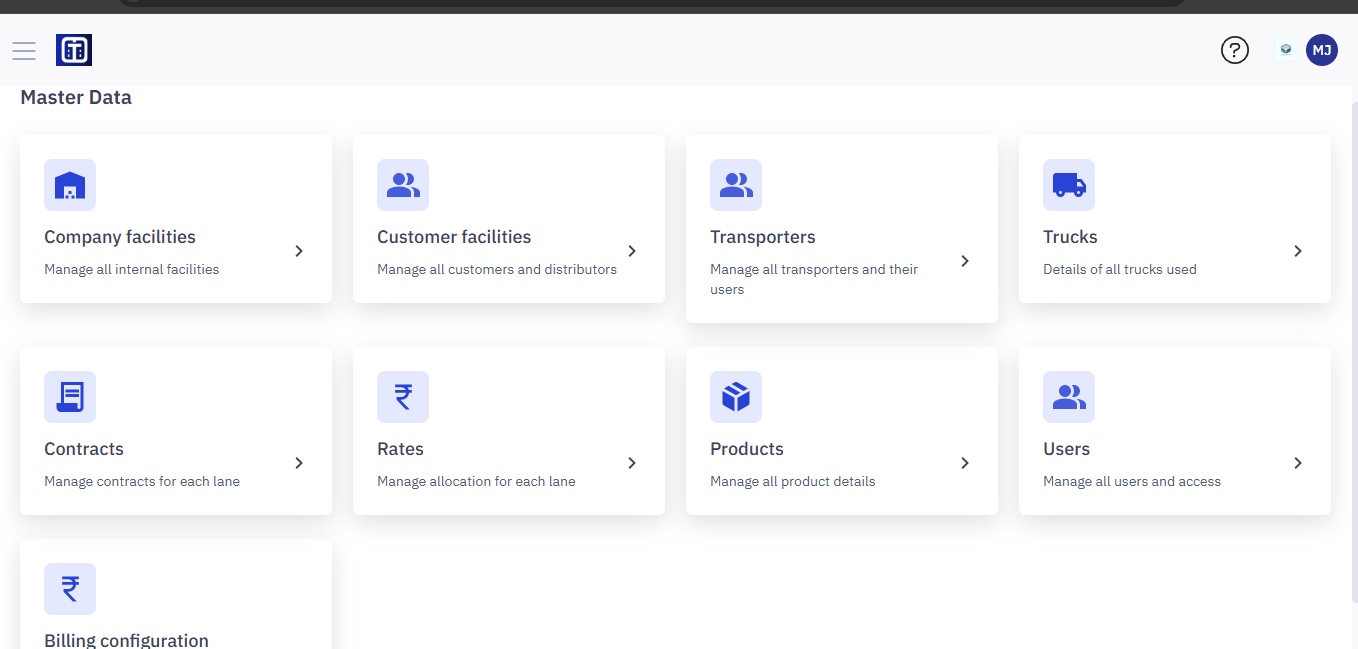
Manage Transporters
The Transporters screen is where you manage information for all your transportation providers (carriers, trucking companies, couriers, etc.). This includes setting up user access for individuals at those companies. Creating a transporter profile involves several steps to capture all necessary details.
Accessing the Transporter Module
- Navigate to the Master Data module.
- From the Master Data dashboard, click Transporters.
Note: Ensure you read the instructions before creating transporters, refer to the section Master Data : Key Details for All Submodules for important information about adding entries and ERP integration.
Viewing Transporters List
The Transporters page displays a list of existing transporters and their details. The table shows:
- TRANSPORTER ID: A unique ID for each transporter.
- TRANSPORTER NAME: The name of the transporter.
- CITY: The city where the transporter is based.
- ACTIVE SINCE: The date the transporter was marked as active in the system.
- STATUS: The current status of the transporter (e.g., Active, Disabled, Drafts).
- Active: The carrier is currently available for shipments.
- Disabled: The carrier is temporarily unavailable.
- Drafts: Information about the carrier has been entered but is not yet active.

Tabs for Filtering by Status
Use the tabs (Active, Disabled, Drafts, All) to filter the list based on the transporter's status. This allows you to quickly view only active transporters, disabled transporters, or those in draft status.
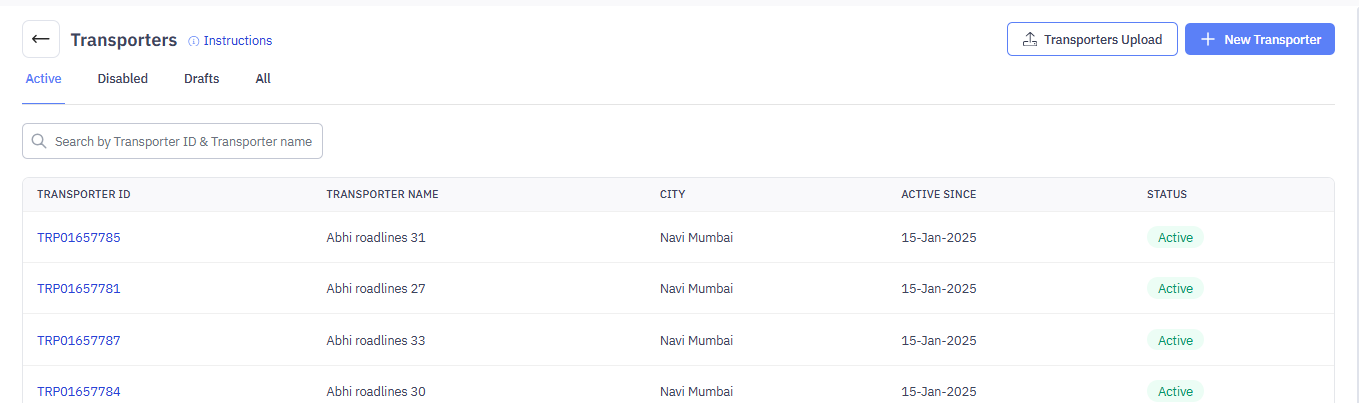
Searching for a Transporter
To search for a specific transporter, follow the below steps:
- In the Search by Transporter ID & Transporter name box, enter part of the ID or name.
- The list updates automatically to show matching results.
Adding a New Transporter
If you start working with a new transporter, you'll need to add them to the TMS portal.
To add a new transporter, follow these steps:
Step 1: Add Transporter Details
Enter the basic information about the transporter (name, contact info, etc.). This is the foundational information for the transporter profile.
- Click
.
- Fill out the form with the transporter's details. This form is divided in three sections: Transporter Details, Financial Details, Users.
- In Transporter Details, enter the transporter name and key information.
- Transporter Name (Required): Enter the name.
- Reference ID (Required): Provide a unique identifier for the transporter.
- In Address, provide the address of the transporter:
- Line 1 (Required): Enter the primary address line (e.g., building number, street). This is a required field.
- Line 2 (Optional): Enter additional address details (optional).
- Pin Code (Required): Input the postal code of the facility. This is a required field.
- City (Required): Specify the city where the facility is located. This is a required field.
- State (Required): Select the state from the dropdown list. This is a required field.
- Click Save as Draft you want to fill the details later or click Continue to proceed to the next step.

Step 2: Financial Details
You've added the transporter's bank account or other financial information. This is likely used for processing payments to the transporter or for other financial transactions related to shipments.
- In Financial details, provide bank details for payment purposes like PAN, Bank account no, IFSC code, account holder name of the transporter.
- Click Save as Draft you want to fill the details later or click Continue to proceed to the next step.
Note: Ensure you add the accurate information to avoid any payment delay or failure.

Step 3: Adding Users
This is where you add individual users who work for that transporter and will need access to the TMS. If no users are currently associated with the transporter, you will see a message like "No users available, click on '+ New User' to add a new user.
- Click the
button.

2. Enter the required details like first name, last name, email, phone number.
3. Select the appropriate user group for this user. User groups define the user's permissions and access levels within the TMS. The available user groups are:
- Transporter Finance Associate: This role has access to submit invoices and track payments. Use this role for users who handle financial matters for the transporter.
- Bidding Associate: This role can view auctions, receive alerts, and submit bids/counteroffers for mapped locations from the Transporter web flow and WhatsApp channel. Use this role for users involved in bidding and negotiation.
- Transporter Admin: This role has complete access to all modules within the TMS related to the transporter. Use this role sparingly and only for trusted individuals who need full administrative control.
- Transporter Placement Associates: This role has access to view active and completed loads. Use this role for users who manage the placement of trucks and drivers for shipments.

4. Selected user groups have been added.

5. After selecting user groups, select facilities the user will have access to. In this case, a specific facility is selected. You can select All facilities or Specific facilities based on your preferences.
- All Facilities: Grants the user access to information related to all facilities in the system.
- Specific Selection: Allows you to choose specific facilities that the user can acces
6. Click Submit.
7. The user has been created as shown in the image below.

Step 4: Editing Users
You can edit the user details by clicking on the pencil icon  .
.
- Click on the pencil icon
- Modify the details as per your preferences.
- Click Submit.

4. Now that all the steps have been completed, you will see the new transporter has been created on the top of the transporter list.
Editing Transporter Details
- Click on any transporter ID in the list to view or edit a transporter's details.

- Click
at the top right of the screen.
3. You can edit all aspects of the transporter profile—Transporter Details, Financial Details, and Users—by making changes on the appropriate screens and clicking Continue to proceed through the steps.

4. When you are done with modifying details, click Save Details.

5. The updated transporter details will appear on the top of the Transporter list.
Disabling Transporter Details
You can disable transporters you no longer work with.
- From the Transporter list page, click on the Transporter ID you want to disable.

2. Click Disable Transporter on the top right of the screen.
3. Selected transporters will be disabled from the Transporter list master data.
Uploading Multiple Transporters
1.Navigate to the 
- Download the Template
- Click on Download Template to obtain the standard CSV file format.
- The template contains predefined columns for the required data fields.
- Prepare the Data
- Fill in the facility details in the downloaded template.
- Ensure all required fields are completed as per the format guidelines provided in the template.
- Save the file in CSV, XLS, or XLSX format (maximum file size: 5 MB).
- Upload the File
- Drag and drop the completed file into the upload area, or click Upload a file to select it manually.
- Once the file is uploaded, click Process.

5. You will get the pop-up message confirmation for the newly created bulk facility, and this will appear at the top of all facilities, similar to the section Adding a new transporter.